[Get the best value off camera flash on Amazon today!]
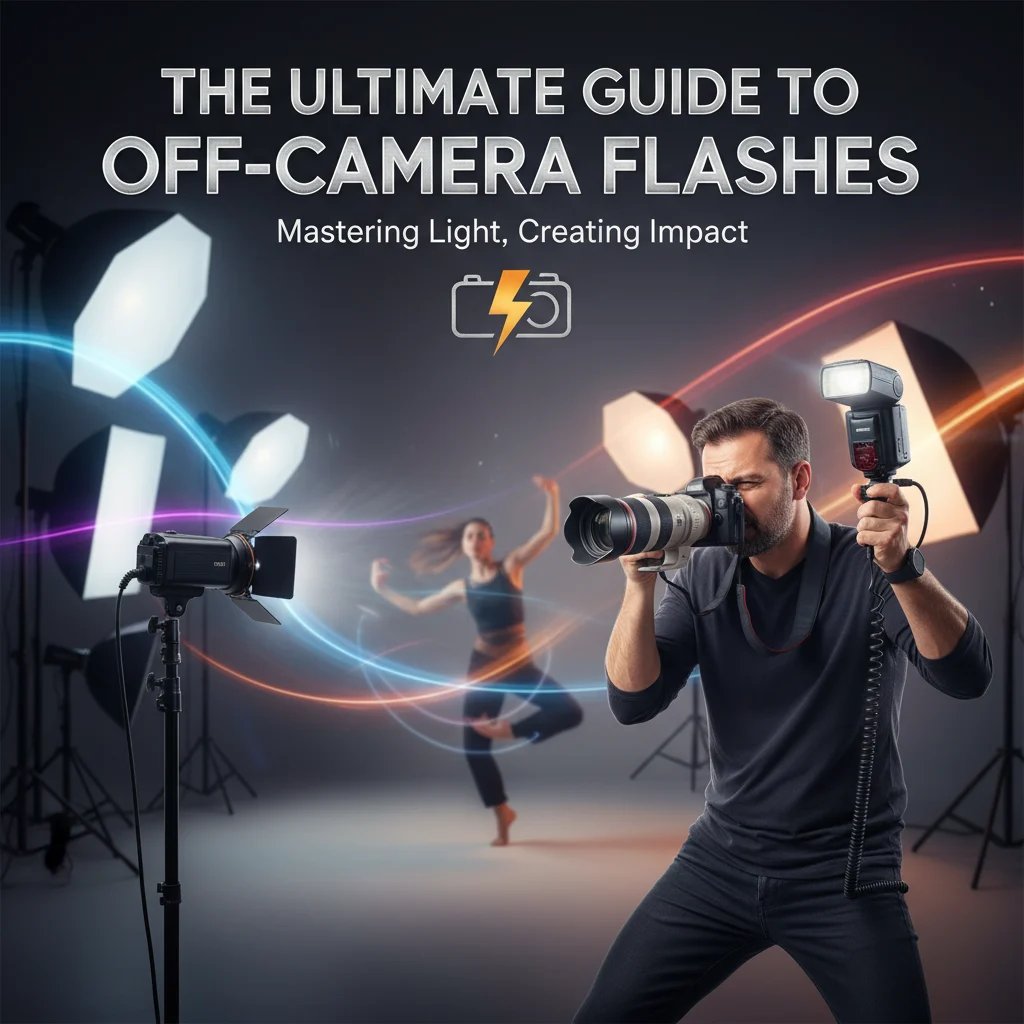
# The Ultimate Guide to Off-Camera Flashes
Off-camera flash photography can seem daunting. Maybe you’ve seen stunning portraits with beautifully sculpted light and wondered, “How did they do that?” Or perhaps you’ve tried using your camera’s built-in flash, only to be met with harsh shadows and unflattering results. The good news? Mastering off-camera flash is within your reach! This guide will break down everything you need to know, from the essential equipment to fundamental techniques, so you can start creating professional-looking images today.
[Browse top-rated off camera flash on Amazon]
## Why Use Off-Camera Flash?
Using flash off-camera unlocks a level of creative control that’s simply impossible to achieve with on-camera flash. Here’s why it’s a game-changer:
* **Directional Light:** By moving the light source away from the camera, you gain the ability to control the direction of the light. This allows you to create shadows, highlights, and depth in your photos, adding dimension and visual interest.
* **Softer Light:** Bouncing the flash off a wall or ceiling, or using a modifier like a softbox or umbrella, diffuses the light, creating a softer, more flattering effect. This eliminates harsh shadows and reduces the risk of blown-out highlights.
* **Creative Control:** Off-camera flash allows you to create a variety of lighting setups to achieve different moods and effects. You can use multiple flashes to create complex lighting patterns or use a single flash to add a subtle highlight.
* **Overpowering Ambient Light:** Need to shoot outdoors in bright sunlight? Off-camera flash lets you overpower the sun, fill in shadows, and create stunning images even in challenging lighting conditions.
* **More Professional Results:** Simply put, off-camera flash makes your photos look more professional. It elevates your photography from snapshots to works of art.
[Browse top-rated off camera flash on Amazon]
## Essential Equipment for Off-Camera Flash
Before diving into techniques, let’s cover the essential equipment you’ll need:
### 1. Flash Unit (Speedlight)
The heart of your off-camera flash setup is the flash unit itself, often called a speedlight. Look for a flash with these features:
* **Manual Power Control:** Essential for precise control over the flash output.
* **TTL (Through-the-Lens) Metering:** Useful for quick and accurate exposures, especially when starting out.
* **High Speed Sync (HSS):** Allows you to use faster shutter speeds than your camera’s sync speed, useful for overpowering ambient light.
* **Zoom Head:** Adjusts the beam angle of the flash, allowing you to focus the light or spread it out.
* **Sufficient Power:** Measured in Guide Number (GN). A higher GN indicates a more powerful flash. A GN of 36 (meters at ISO 100) is a good starting point.
**Recommended Product:** Godox TT685
* **Best For:** Versatile and affordable option for beginners and experienced photographers.
* **Key Features:** TTL, HSS, built-in 2.4G wireless X system, recycle time of 0.1-2.6s.
* **Why We Like It:** The Godox TT685 offers a fantastic balance of features and price. Its built-in wireless system makes it easy to control multiple flashes, and its fast recycle time ensures you won’t miss a shot. It works seamlessly with many camera systems.
### 2. Flash Trigger
A flash trigger allows you to fire the flash remotely. There are two main types:
* **Optical Triggers:** Use a pre-flash from your camera’s built-in flash to trigger the off-camera flash. Less reliable in bright light.
* **Radio Triggers:** Use radio waves to trigger the flash. More reliable and offer greater range.
**Recommended Product:** Godox XPro
* **Best For:** Reliable and feature-rich radio trigger.
* **Key Features:** TTL, HSS, remote power control, large LCD screen.
* **Why We Like It:** The Godox XPro is a top-of-the-line radio trigger that offers precise control over your flashes. Its intuitive interface and reliable performance make it a must-have for serious off-camera flash photographers.
### 3. Light Stand
A sturdy light stand is essential for positioning your flash. Look for a stand that is tall enough for your needs and can support the weight of your flash and modifier.
**Recommended Product:** Neewer Pro 75″ Tripod
* **Best For:** Sturdy and affordable light stand.
* **Key Features:** Adjustable height, solid locking system, lightweight and portable.
* **Why We Like It:** The Neewer Pro 75″ Tripod is a reliable and affordable light stand that’s perfect for beginners. It’s easy to set up and take down, and it provides a stable base for your flash.
### 4. Flash Modifier
A flash modifier shapes and diffuses the light from your flash. Common types include:
* **Softboxes:** Create soft, even light.
* **Umbrellas:** Similar to softboxes, but more portable.
* **Reflectors:** Bounce light onto your subject.
* **Snoots:** Focus light into a narrow beam.
* **Gels:** Change the color of the light.
**Recommended Product:** Neewer 32 inches Octagon Softbox
* **Best For:** Creating soft, flattering light.
* **Key Features:** Octagonal shape, silver interior, diffusion panel.
* **Why We Like It:** The Neewer 32 inches Octagon Softbox is a versatile modifier that’s perfect for portrait photography. Its octagonal shape creates natural-looking catchlights in the eyes, and its silver interior provides a bright, even light.
### 5. Accessories
* **Batteries:** Invest in rechargeable batteries and a charger for your flash.
* **Flash Bracket:** Allows you to mount your flash to a light stand.
* **Clamps:** Secure your cables and modifiers.
* **Gaffer Tape:** For securing everything!
[Browse top-rated off camera flash on Amazon]
## Basic Off-Camera Flash Techniques
Now that you have the equipment, let’s explore some fundamental techniques:
### 1. Understanding Inverse Square Law
The inverse square law states that the intensity of light decreases proportionally to the square of the distance from the light source. This means that a small change in distance can have a significant impact on the brightness of your flash. Keep this in mind when positioning your flash. Move the flash closer for brighter light, and farther away for dimmer light.
### 2. Off-Camera Flash Placement
* **Side Lighting:** Placing the flash to the side of your subject creates dramatic shadows and highlights, adding depth and dimension to your photos. This is a great technique for portraits and product photography.
* **Back Lighting:** Placing the flash behind your subject creates a silhouette or a rim light effect. This can be used to separate your subject from the background and add a sense of drama.
* **Feathering the Light:** “Feathering” refers to angling the edge of your light source towards your subject. This provides a softer light than pointing the light source directly at the subject. This is helpful when a direct light is too harsh.
* **Bouncing the Light:** Bouncing the flash off a wall or ceiling creates a soft, diffused light. This is a great technique for indoor photography, as it eliminates harsh shadows and creates a more natural-looking light.
### 3. Flash Power Settings
* **Manual Mode:** The most precise way to control your flash. Start with a low power setting (e.g., 1/32) and gradually increase the power until you achieve the desired exposure.
* **TTL Mode:** Allows the camera to automatically adjust the flash power for you. Useful for fast-paced situations where you don’t have time to adjust the power manually.
### 4. Sync Speed and High-Speed Sync (HSS)
Your camera has a maximum sync speed, which is the fastest shutter speed you can use with flash. Exceeding this speed will result in a dark band in your photos. High-Speed Sync (HSS) allows you to use faster shutter speeds with flash, which is useful for overpowering ambient light or creating shallow depth of field in bright conditions.
[Browse top-rated off camera flash on Amazon]
## Advanced Off-Camera Flash Techniques
Once you’ve mastered the basics, you can explore more advanced techniques:
### 1. Using Multiple Flashes
Using multiple flashes allows you to create complex lighting patterns and achieve a variety of effects. You can use one flash as a key light, another as a fill light, and a third as a hair light.
### 2. Gel Lighting
Using gels to change the color of your flash can add a creative touch to your photos. You can use gels to create a warm or cool tone, or to match the color of the ambient light.
### 3. Off-Camera Flash for Portrait Photography
Off-camera flash is a powerful tool for portrait photography. It allows you to create flattering light, eliminate harsh shadows, and add depth and dimension to your portraits.
### 4. Off-Camera Flash for Product Photography
Off-camera flash is also useful for product photography. It allows you to control the lighting and create images that highlight the product’s features.
[Browse top-rated off camera flash on Amazon]
## Troubleshooting Common Off-Camera Flash Problems
* **Flash Not Firing:** Make sure your flash is turned on, the batteries are charged, and the trigger is properly connected.
* **Underex
[Check the latest prices and deals for off camera flash on Amazon today!]


